• Prop Gallery
    • Costume Gallery
    • Project Details
    • Video links
    • shirts
    • Blog
    • Info
  • EMJ Custom Guitars
    • Gallery
    • Blog
  • About
Menu

Coregeek

  • Props/Costumes
    • Prop Gallery
    • Costume Gallery
    • Project Details
    • Video links
    • shirts
    • Blog
    • Info
  • EMJ Custom Guitars
  • The Woodshop
    • Gallery
    • Blog
  • About

Armor Build Photo Progression: Fierce Deity Link Armor

July 15, 2016

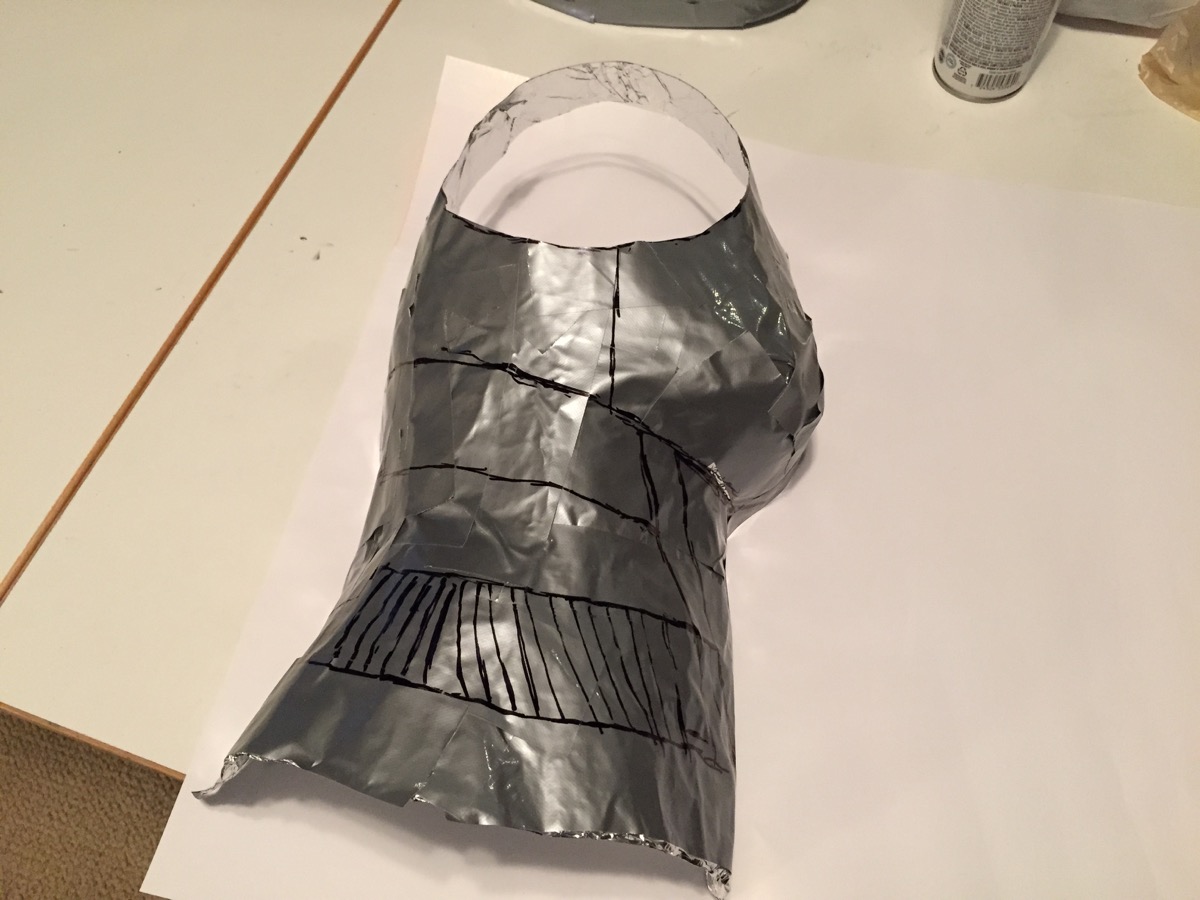
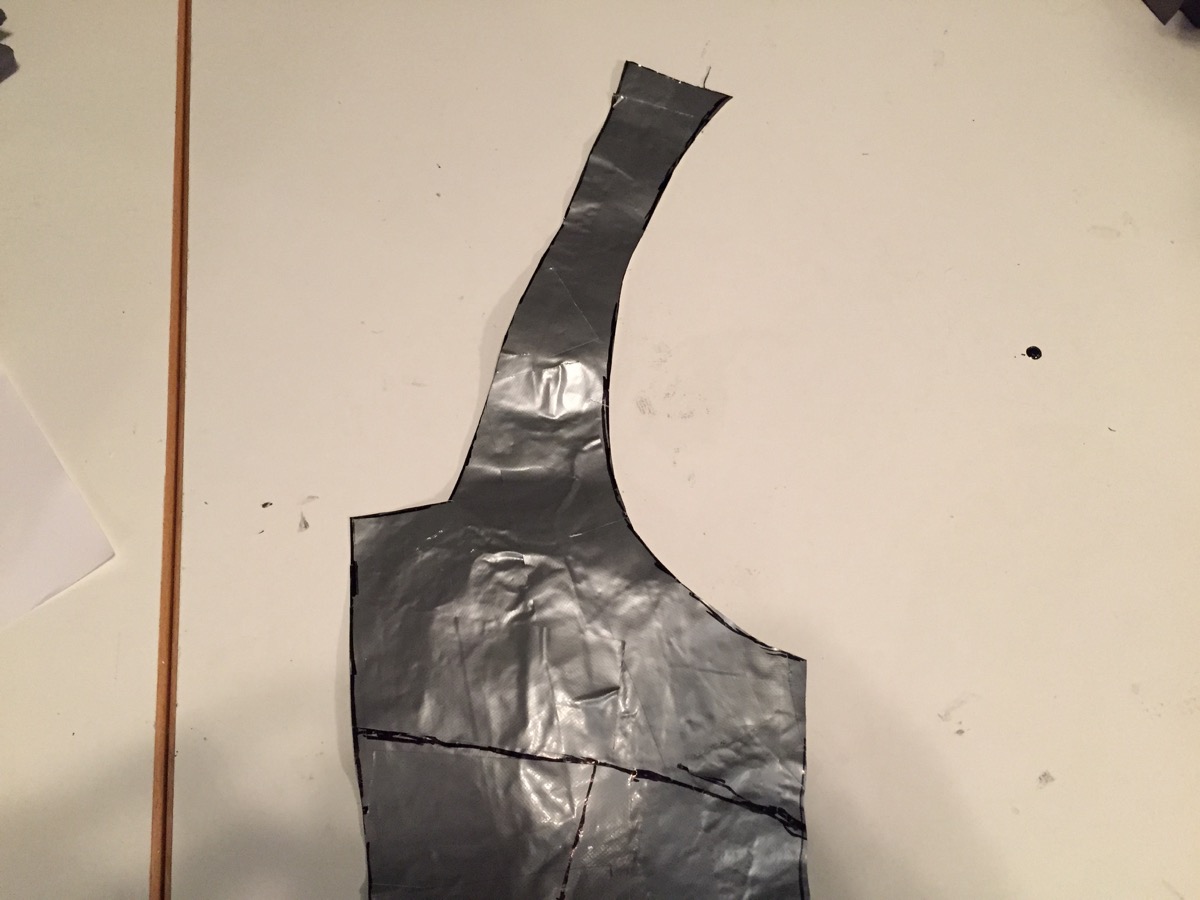
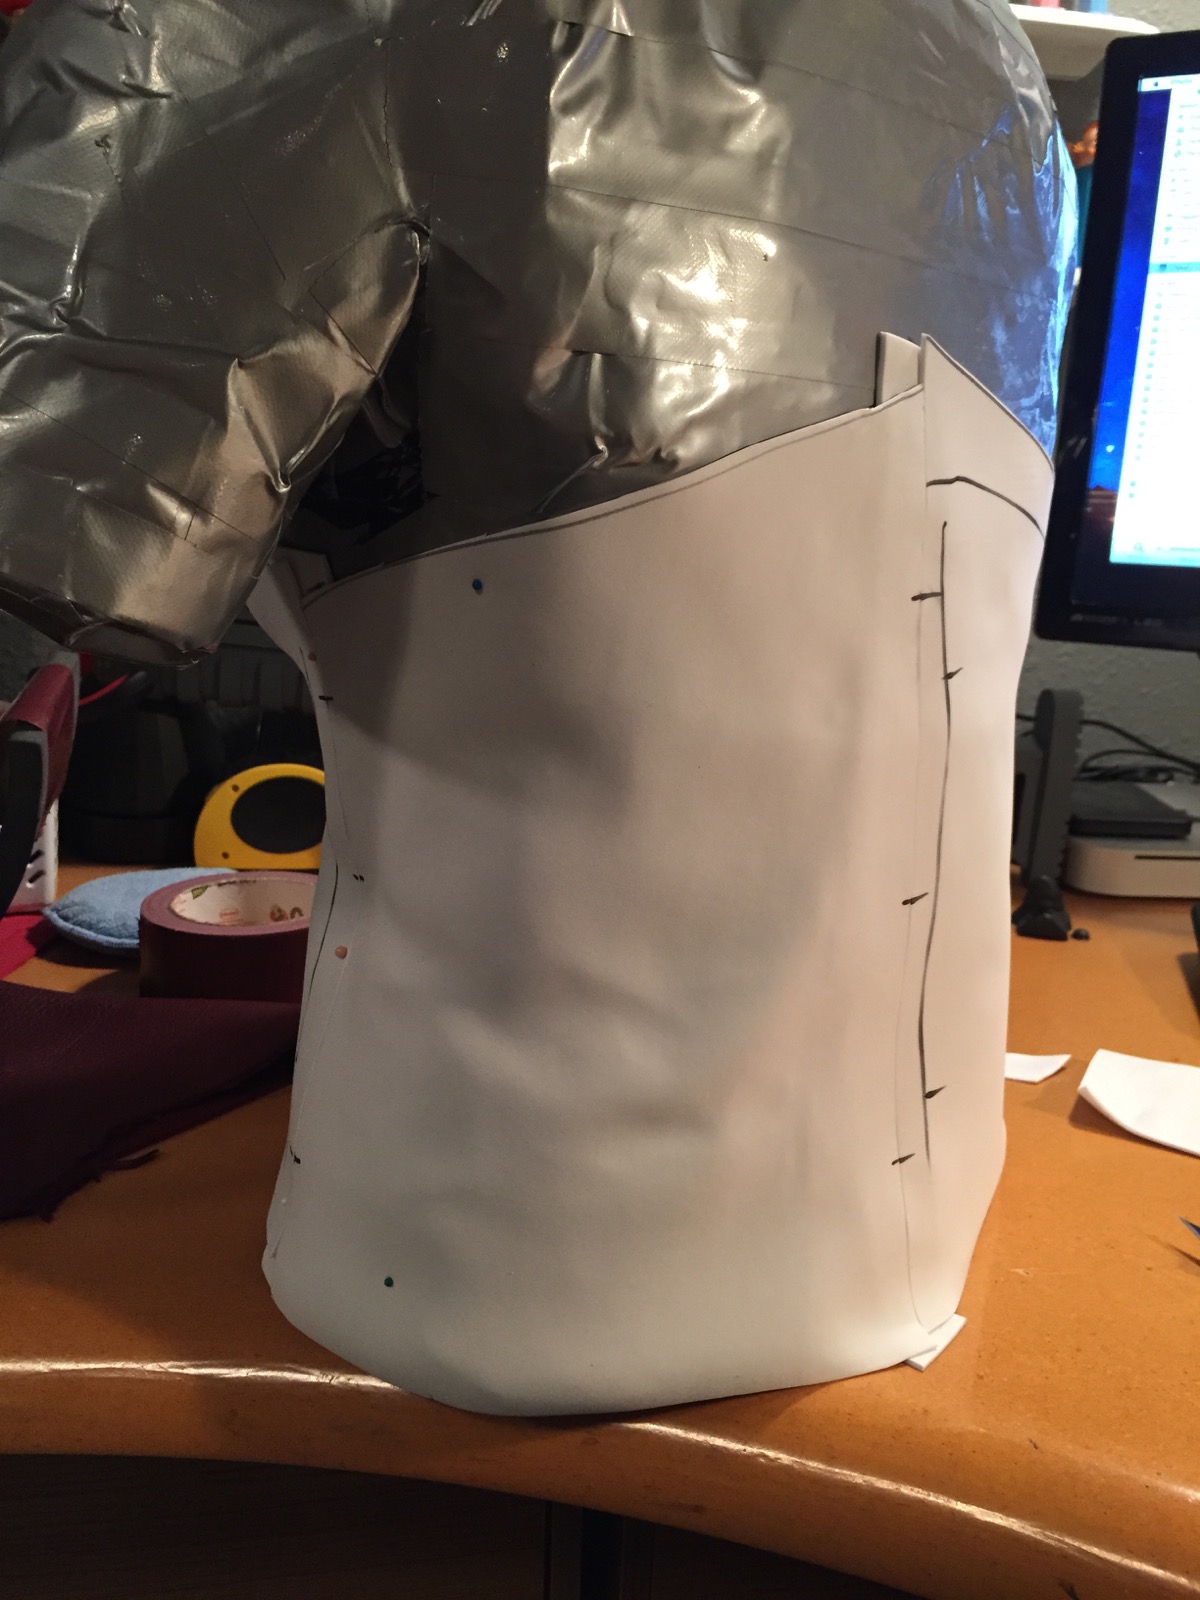
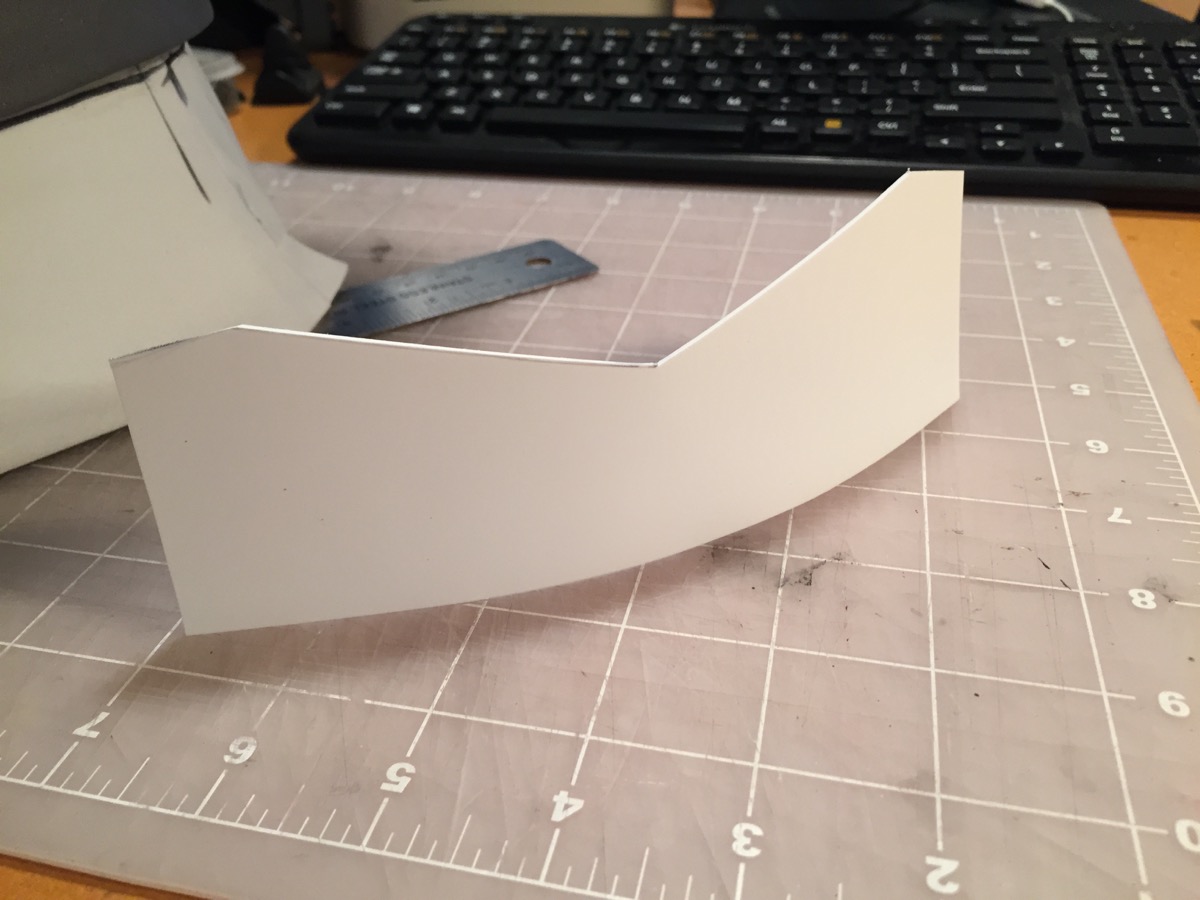
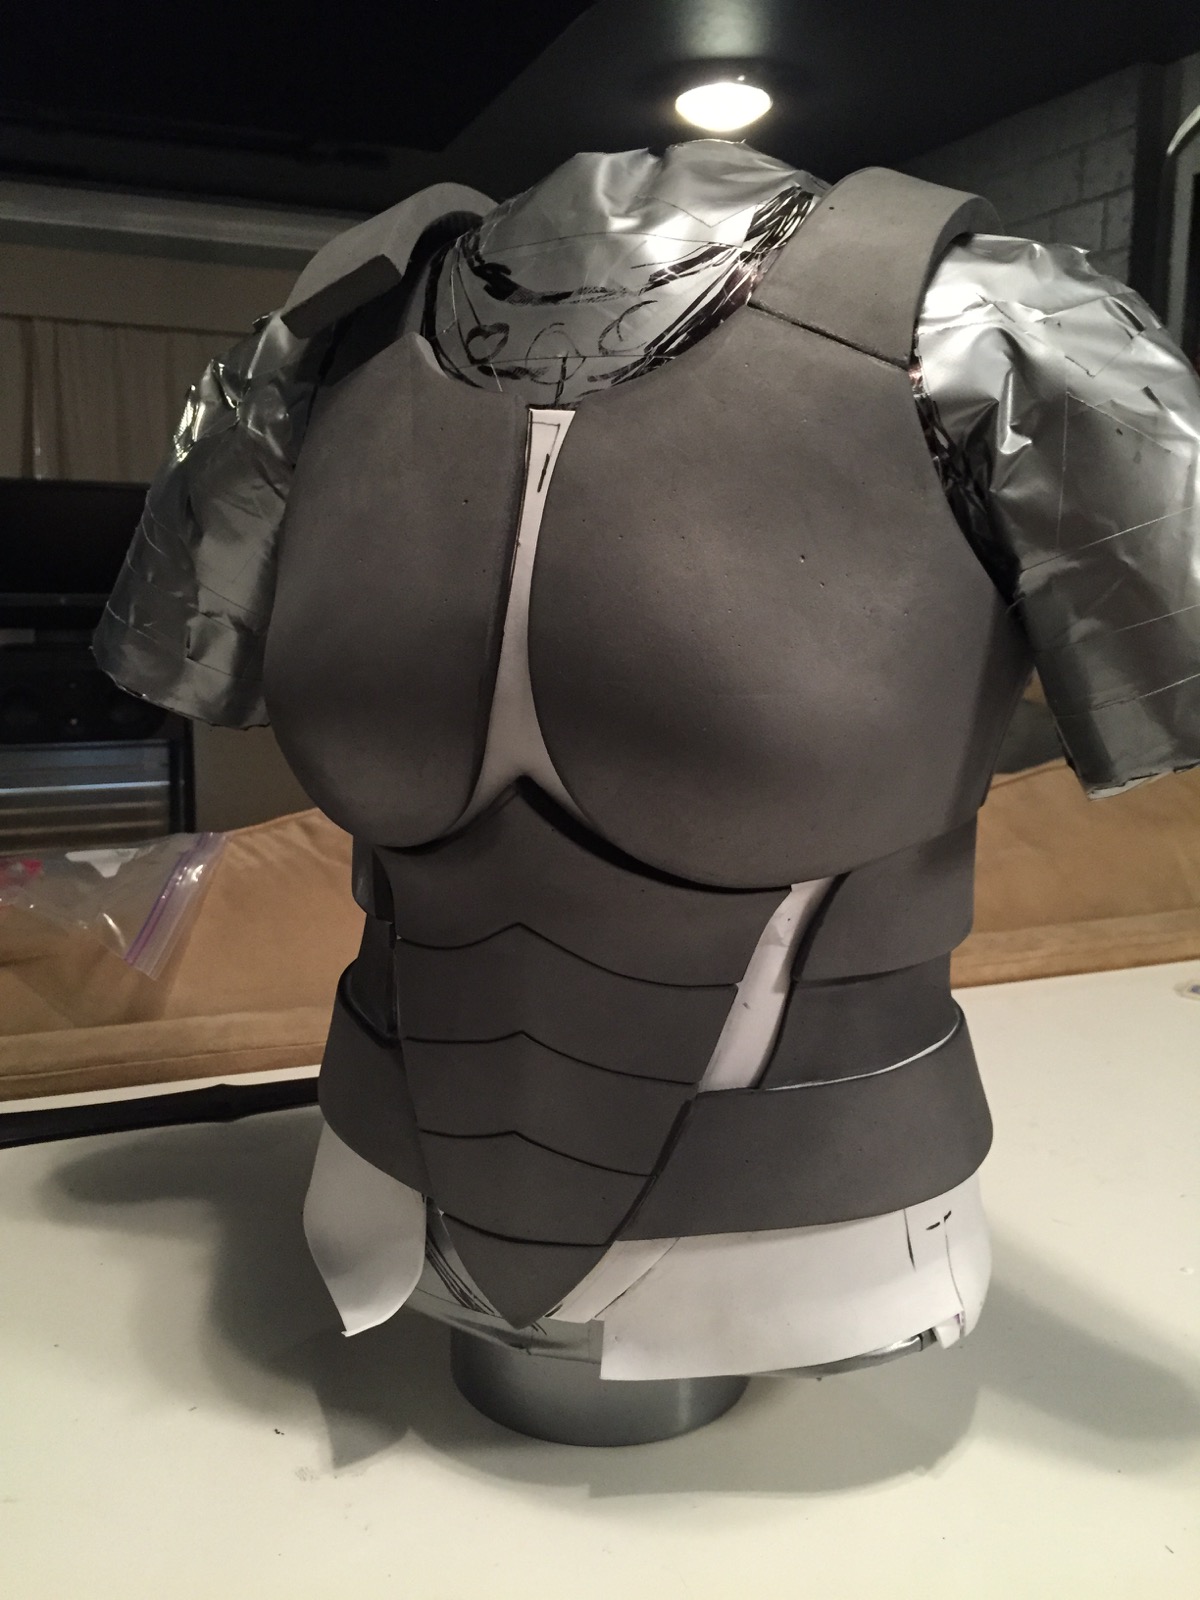
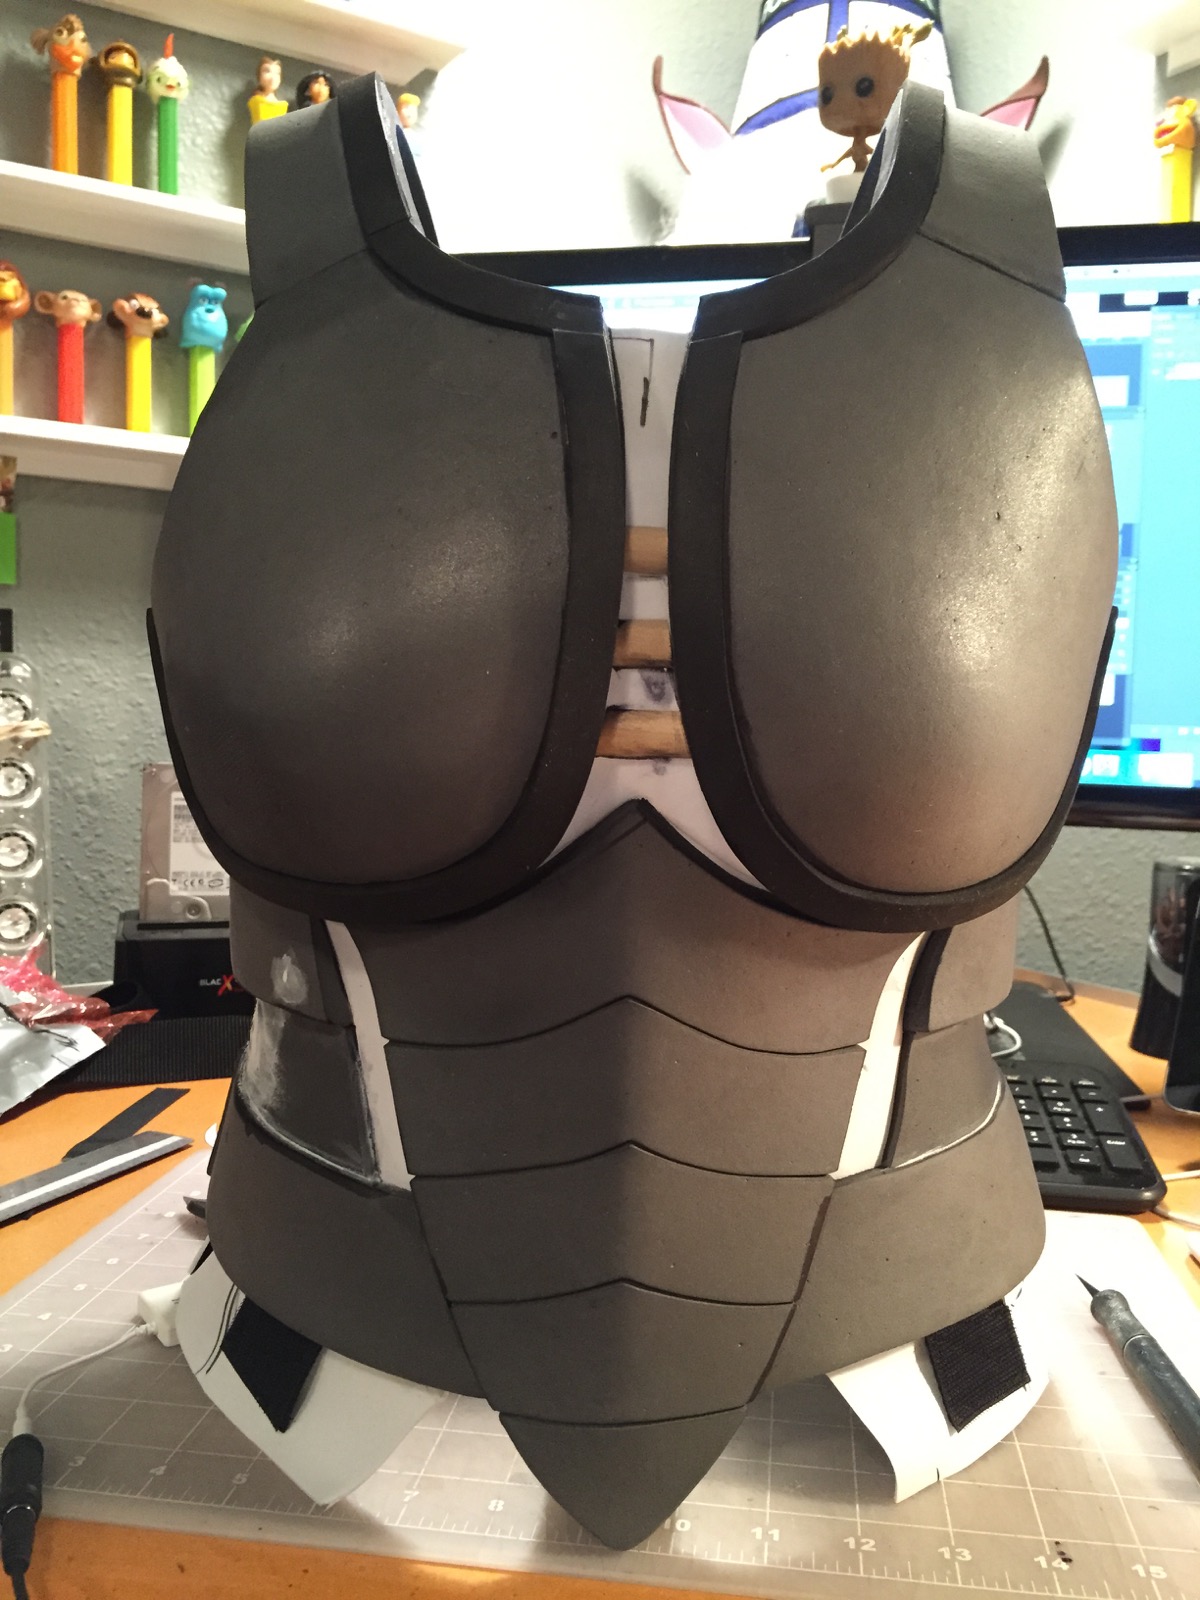
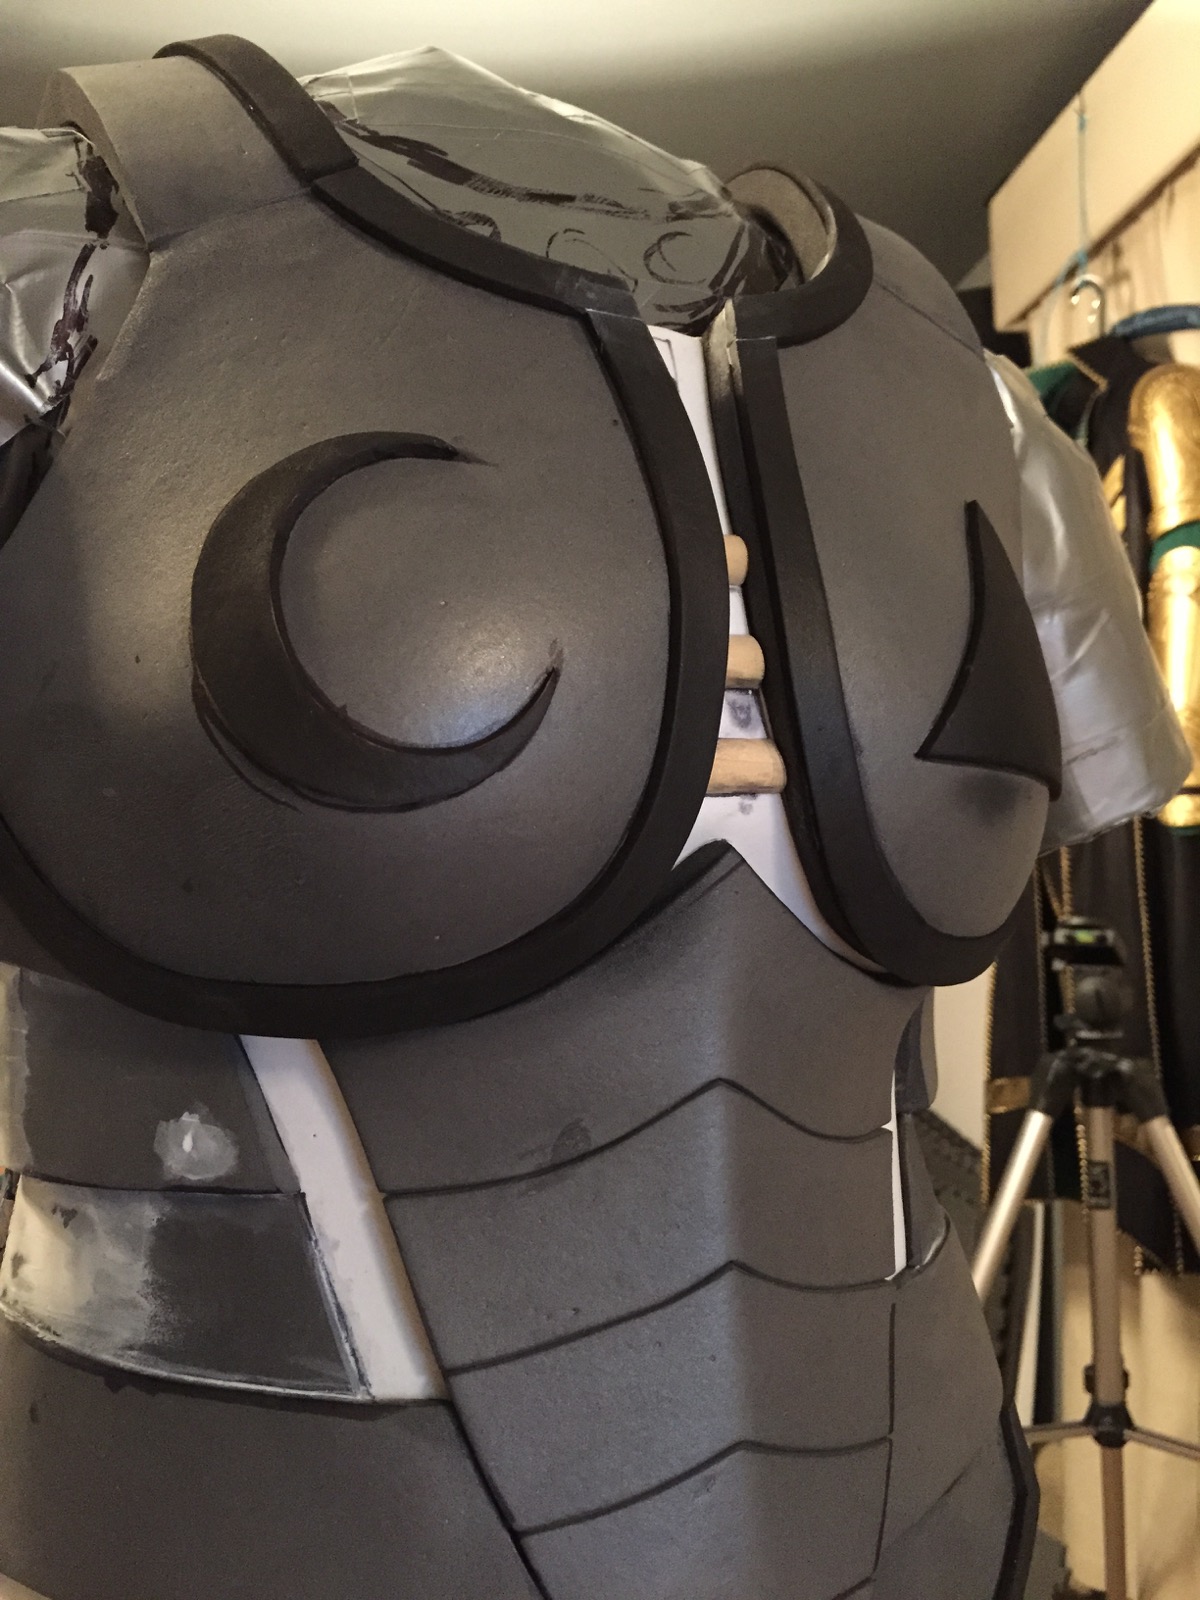
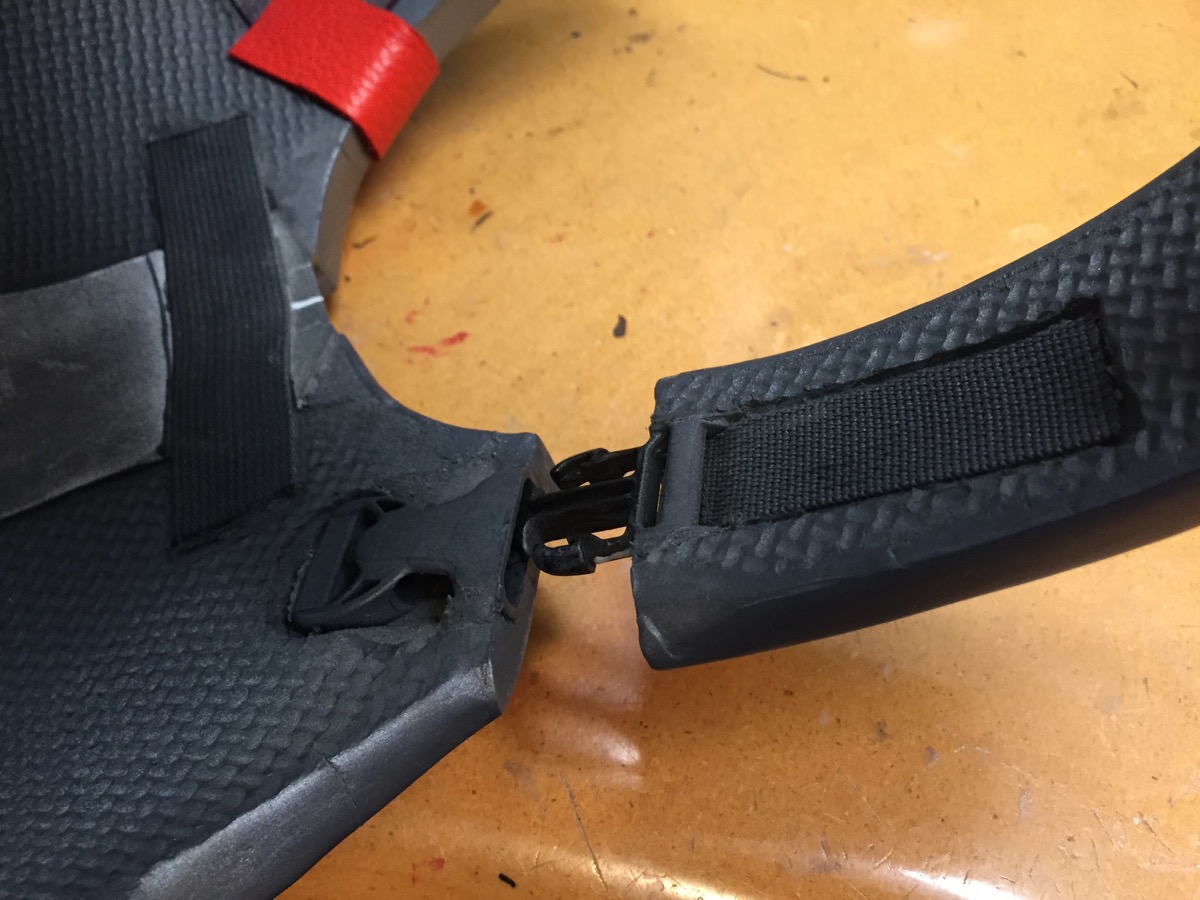
The following gallery is the photo progression (with annotations) of the Fierce Deity Link armor build. It's made almost completely from EVA foam and adhered together with Barge contact cement. I used a hardshell resin coating from Smoothon called Epsilon to seal and finish the foam. For more information about using Epsilon resin with foam please watch my video on YouTube.

  • Full Fierce Deity Link costume gallery here
  • Full Helix Sword gallery here

Work In Progress (WIP) Gallery:

View fullsize  Duct-tape pattern made from wrapping the dummy with cellophane then covering that with duct-tape. 
View fullsize  The shape is identicel for both sides so I only patterned one side then flipped it for the second.
View fullsize  Once the pattern is made I cut it down to the basic base shapes needed.
View fullsize  The back harness cut as one piece.
View fullsize  Harness heated and shaped to the back and shoulders.
View fullsize  Midsection piece cut and shaped using an undercut from the back.
View fullsize  Back of midsection piece cut and shaped using an undercut from the back.
View fullsize  Front of midsection with detailed lines added. The lines are simply cut shallow with a sharp blade then heated with a heatgun. The heat opens the lines as you see here.
View fullsize  Breast pieces shaped as this is a bit of a redesign due it it being for my daughter.
View fullsize  Breast pieces and mid-section adhered to standard craftfoam (white).
View fullsize  Base for sides and back is basically a craftfoam corset.
View fullsize  Seam under the arm were the front and back harness sections meet.
View fullsize  Side piece which I began referring to as a shingle because of the tapered shape required to get the correct look.
View fullsize  First side shingle in place.
View fullsize  Blocking out the shape of the mid-back.
View fullsize  Mid-back pieces. Each is a different thickness of foam to maintain the correct lines.
View fullsize  Mid-back section in place.
View fullsize  Front with both side shingles in place.
View fullsize  Belt made from floormat EVA joined together.
View fullsize  Belt in place. It was not easy getting the shape correct.
View fullsize  Belt from the back.
View fullsize  Center bottom of the back. This is a piece of Styrene. I needed the thinness of the styrene to complete the stair-steping effect. It also smoothed out that section well.
View fullsize  Center bottom Styrene piece in place.
View fullsize  The bottom side shingles.
View fullsize  The bottom side shingles from another angle.
View fullsize  The bottom side shingles in place.
View fullsize  All the pieces together.
View fullsize  Back close-up showing the shapes and fit of each piece together.
View fullsize  Front close-up showing the shapes and fit of each piece together.
View fullsize  Once the construction was complete I carefully cut a seam into one side for getting it on and off.
View fullsize  I also left the strap on the seam side unattached in order to add a slip buckle to it.
View fullsize  Test fit.
View fullsize  Codpiece pattern and base.
View fullsize  I utilized the undercut method to shape the codpiece.
View fullsize  Cod piece with added layering.
View fullsize  Tail piece layered parts before sticking together.
View fullsize  Test fitting the codpiece to the main armor.
View fullsize  Planning out deatailing.
View fullsize  Detailing made with blade cut and heat same as the abdomen piece.
View fullsize  Strips of craftfoam cut for the edge detailing on the breast plates.
View fullsize FDLarmor - 49.jpg
View fullsize  Half round wood dowels for the raised lines between the breasts.
View fullsize  Both outer edge breast detailing done.
View fullsize  Moon a triangle detail added.
View fullsize  Complete front.
View fullsize  Complete side.
View fullsize  Complete back.
View fullsize  First coat of Epsilon. You can see where it's been brushed on as it looks shiny.
View fullsize  Full coat of Epsilon
View fullsize  Epsilon applied in several coats.
View fullsize  1st sand pass after several coats of Epsilon. Any goopy spots get 80 grit. The rest is 120 grit.
View fullsize  1st Primer Coat. Then any voids get Woodfiller. Normally woodfiller would not work well on foam but the Epsilon makes it possible.
View fullsize  Primer then woodfiller as the primer makes the voids in the epsilon visible.
View fullsize  2nd primer pass after everything has been sanded again with 180 grit.
View fullsize FDLarmor - 70.jpg
View fullsize  One more pass of woodfiller on voids before 220 grit pass.
View fullsize  Final pass of primer before 220 sanding. I then switched to wetsanding using 400 grit.
View fullsize  At this point it was wetsanded to 600 grit. I don't have any photos of the process.
View fullsize  Base color applied. This is Wicked Colors Metallic Silver airbrush paint.
View fullsize  Masking for detailing paint. Tamiya Masking Tape (yellow) is my favorite.
View fullsize  More masking for detailing paint.
View fullsize  Darker inset color done.
View fullsize  Masking for the subtle dark fade on the sides and back.
View fullsize FDLarmor - 85.jpg
View fullsize  Fade after masking removed.
View fullsize  Comparison to the sculpture I was trying to match.
View fullsize  Detailing painted with Createx Pearlized Copper airbrush paint. Prior to masking removal.
View fullsize  Belt painted front. Paint is a custom mix of Wicked Colors.
View fullsize  Belt painted side.
View fullsize  Belt painted back.
View fullsize  Final paint.
View fullsize  Strap buckle outside.
View fullsize  Strap buckle inside.
View fullsize  Seam side with removable hip piece attached (velcro).
View fullsize  Seam side with removable hip piece unattached (velcro).
View fullsize  Seam stretched open.
View fullsize  Final armor after several con appearances.
← Frostmourne FAQ: Blade LightingPunished Props Q&A Livestream Guest Spot →