Working With Worbla: King Loki Build – Staff / Scepter Progression

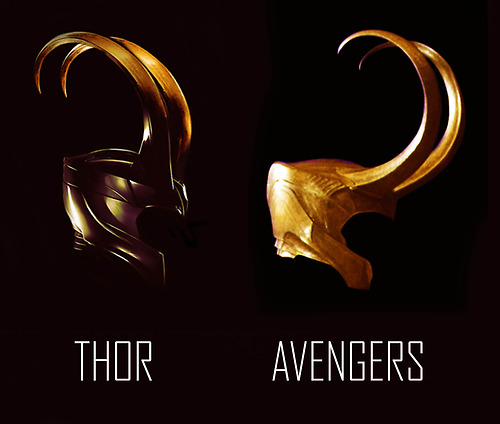
This post is not meant to be an exact how-to guide. I've detailed the main steps first. If you don't want to read those you can skip down to the gallery which is posted in chronological order. Warning: there are a lot of gaps in the progress shots. I tried to remember to take photos along the way but I missed a lot of steps. (Sorry, I was up to a deadline and had less than two weeks to create this and I was still working on the Loki armor at the same time.) That said, I completely forgot to take photos of the woodworking portion of this build. I started with a large plank of 3/4" select pine from my wood bin, I ripped it into 2 pieces and laminated those together. I printed a photo of the actual prop to the scale of my daughter (who is significantly shorter that Tom Hiddleston) so the staff would be proportionate to her size. I cut out the print and used that as my guide for the staff and blades. The rest I just eyeballed as I worked. I used photos of this amazing staff created by Eldrich Arts for detailing reference.

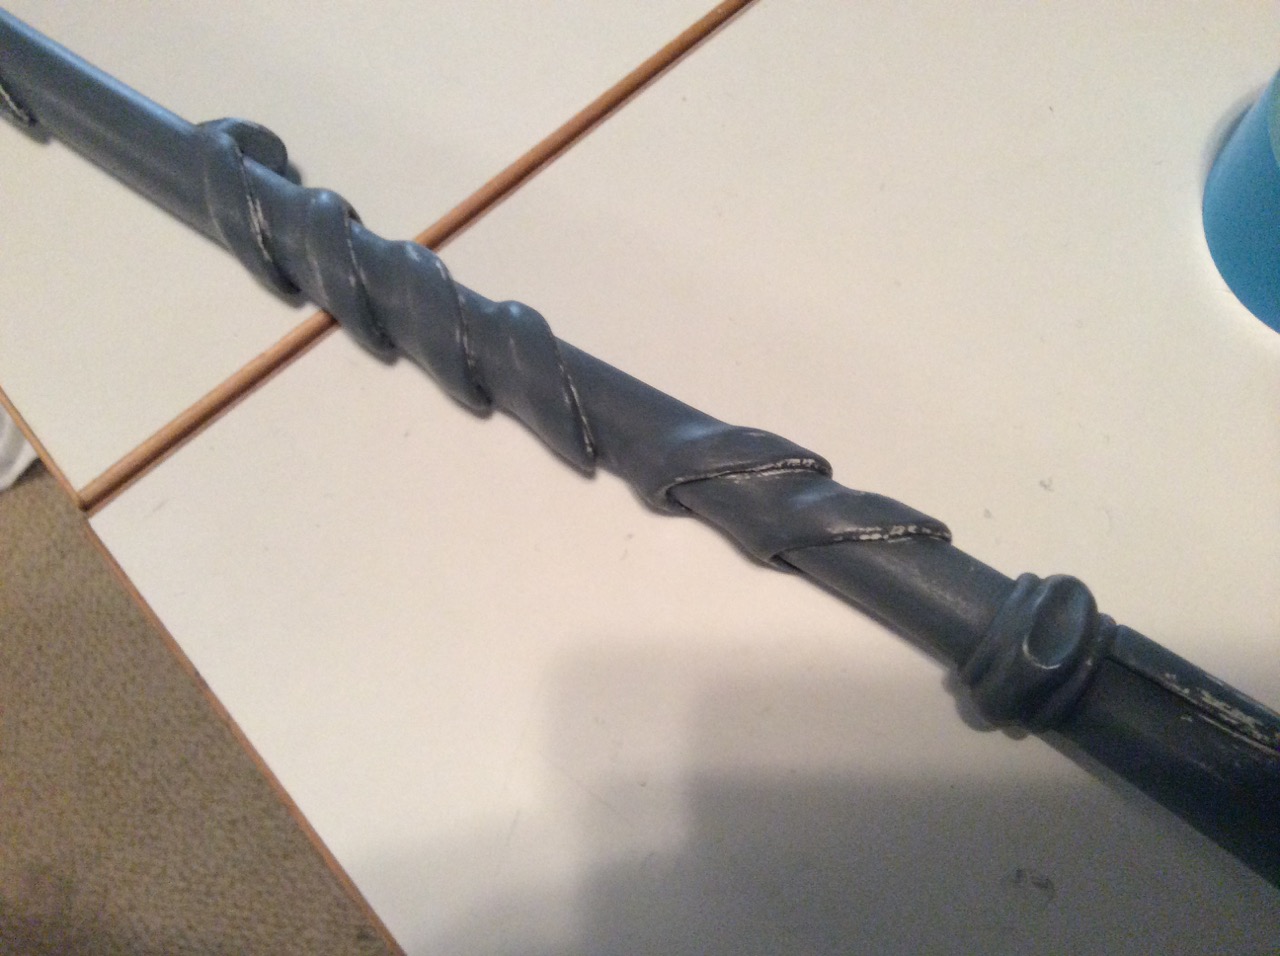
The details on the staff body are all Worbla which I cut into various strips and wrapped around craft foam to give it some thickness. I heated those strips and hot glued them to the staff. To create the flares I filled the "down-edge" with wood filler until it made a nice smooth transition to the staff body.

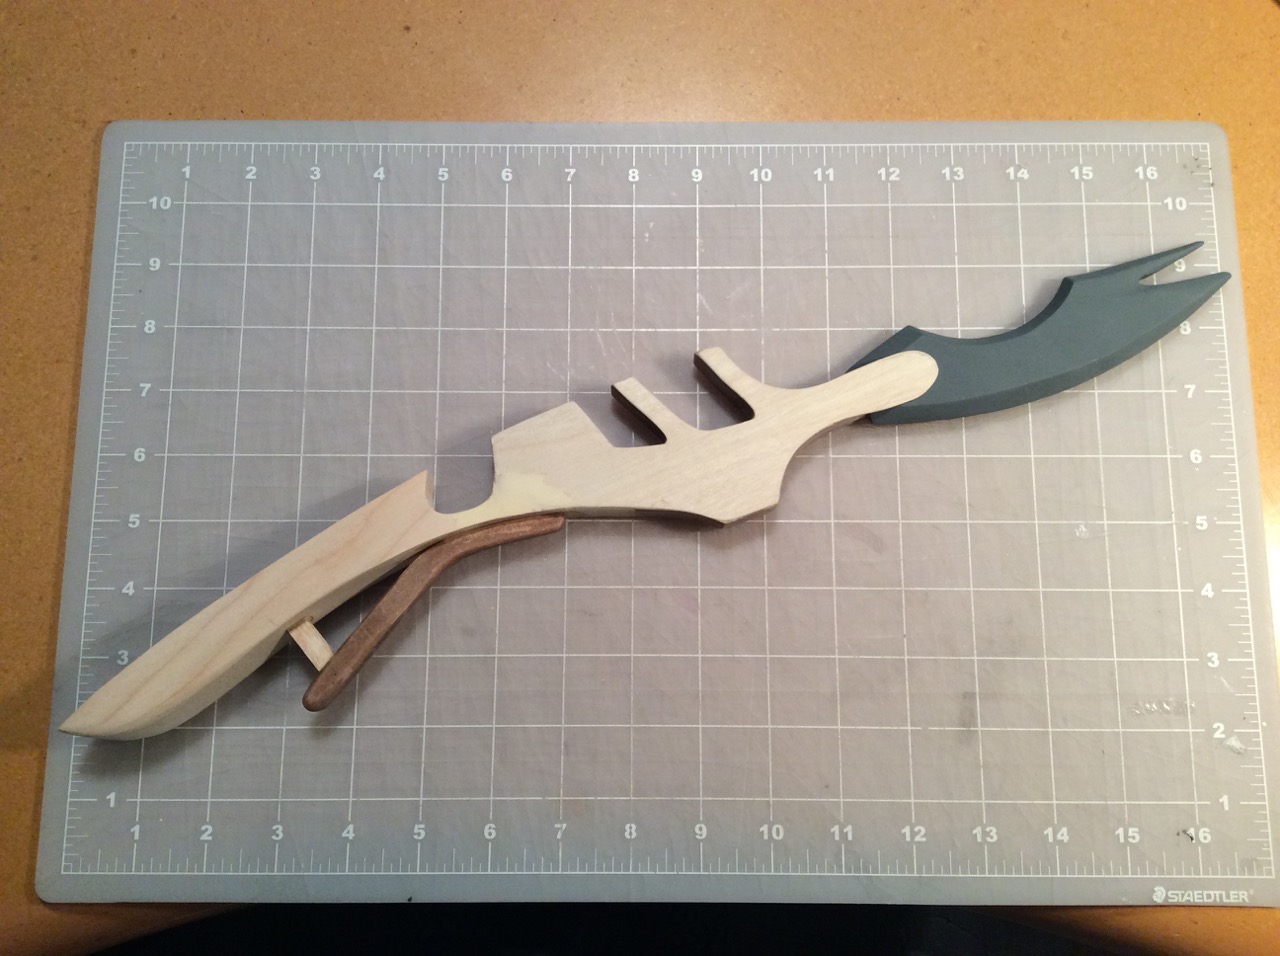
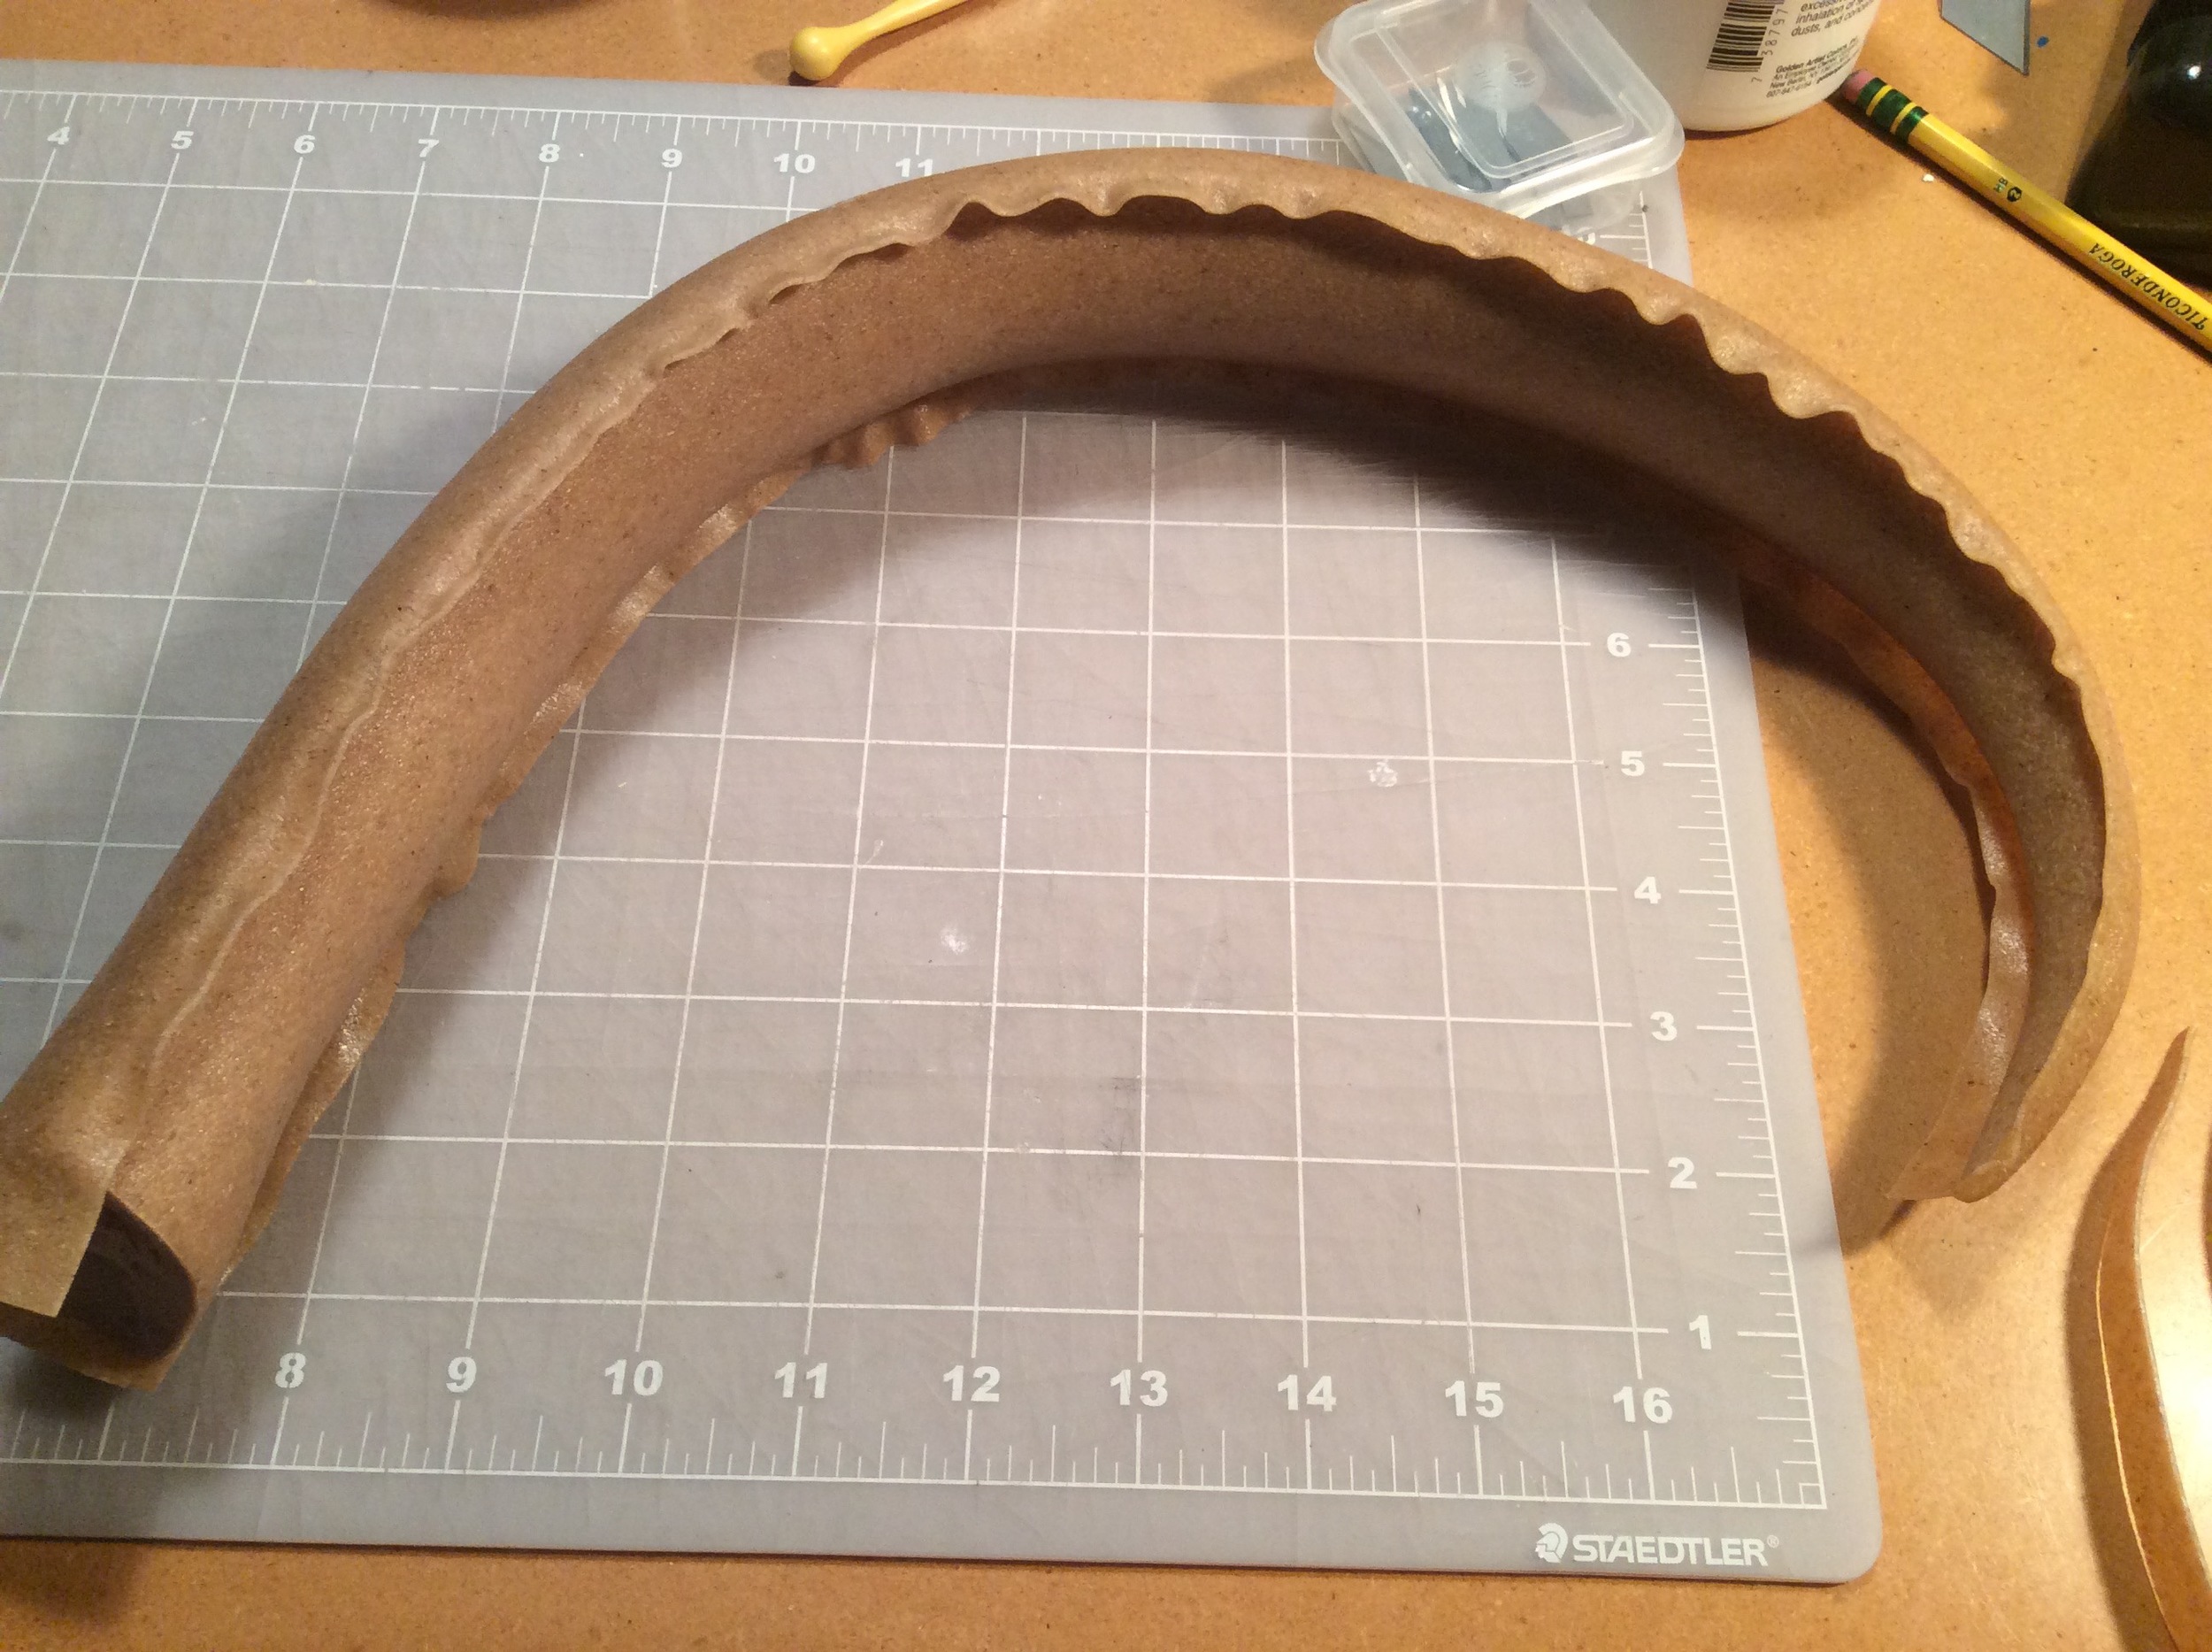
The blade assembly is made from pine and MDF. I shaped the tapered sides of it with my bench belt sander. I then "skinned" each side with 1/32" birch plywood so I could approximate the "fingers" which are on either side of the middle blade and hold it in place.

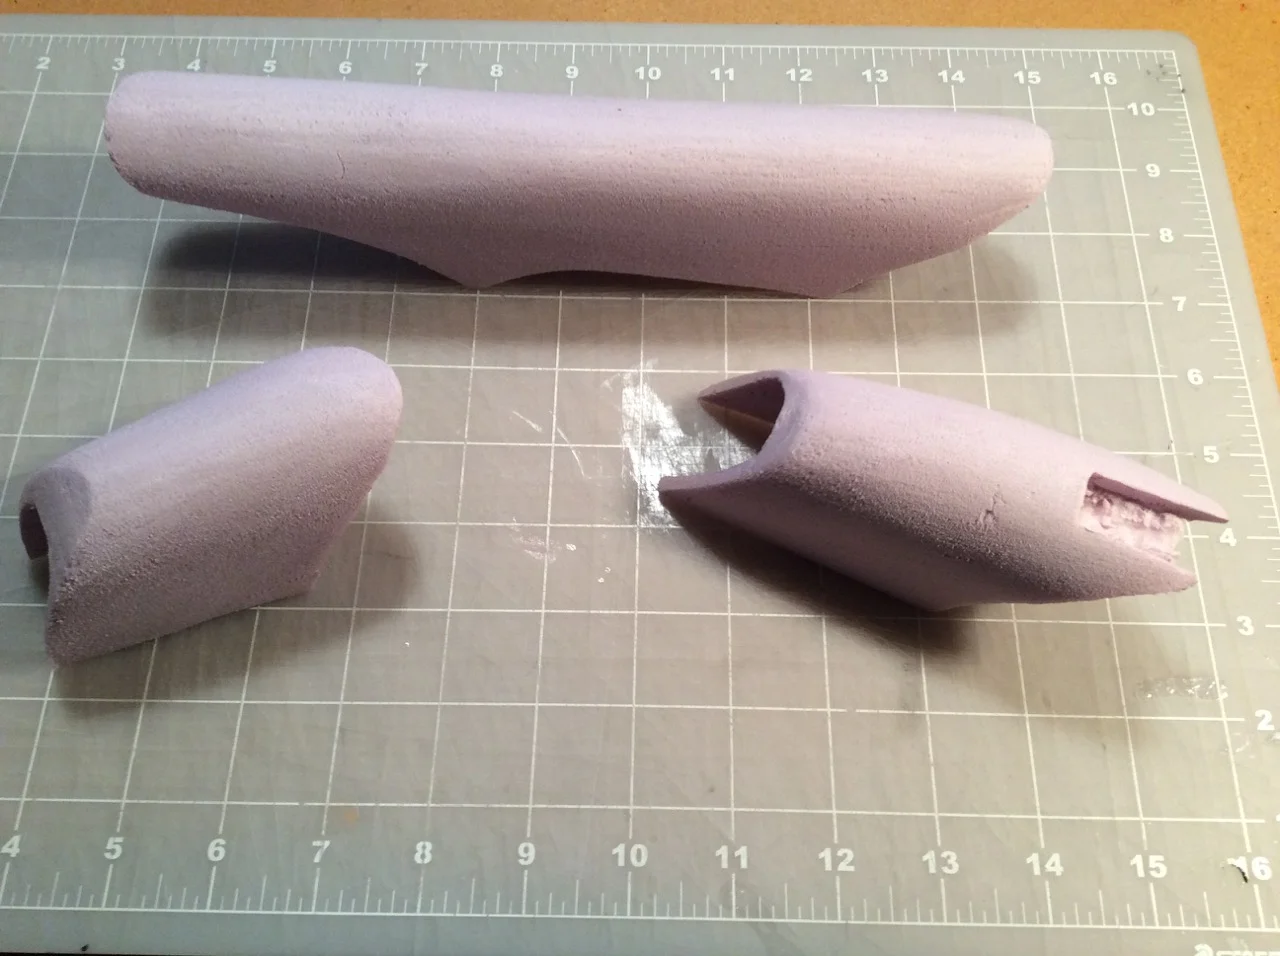
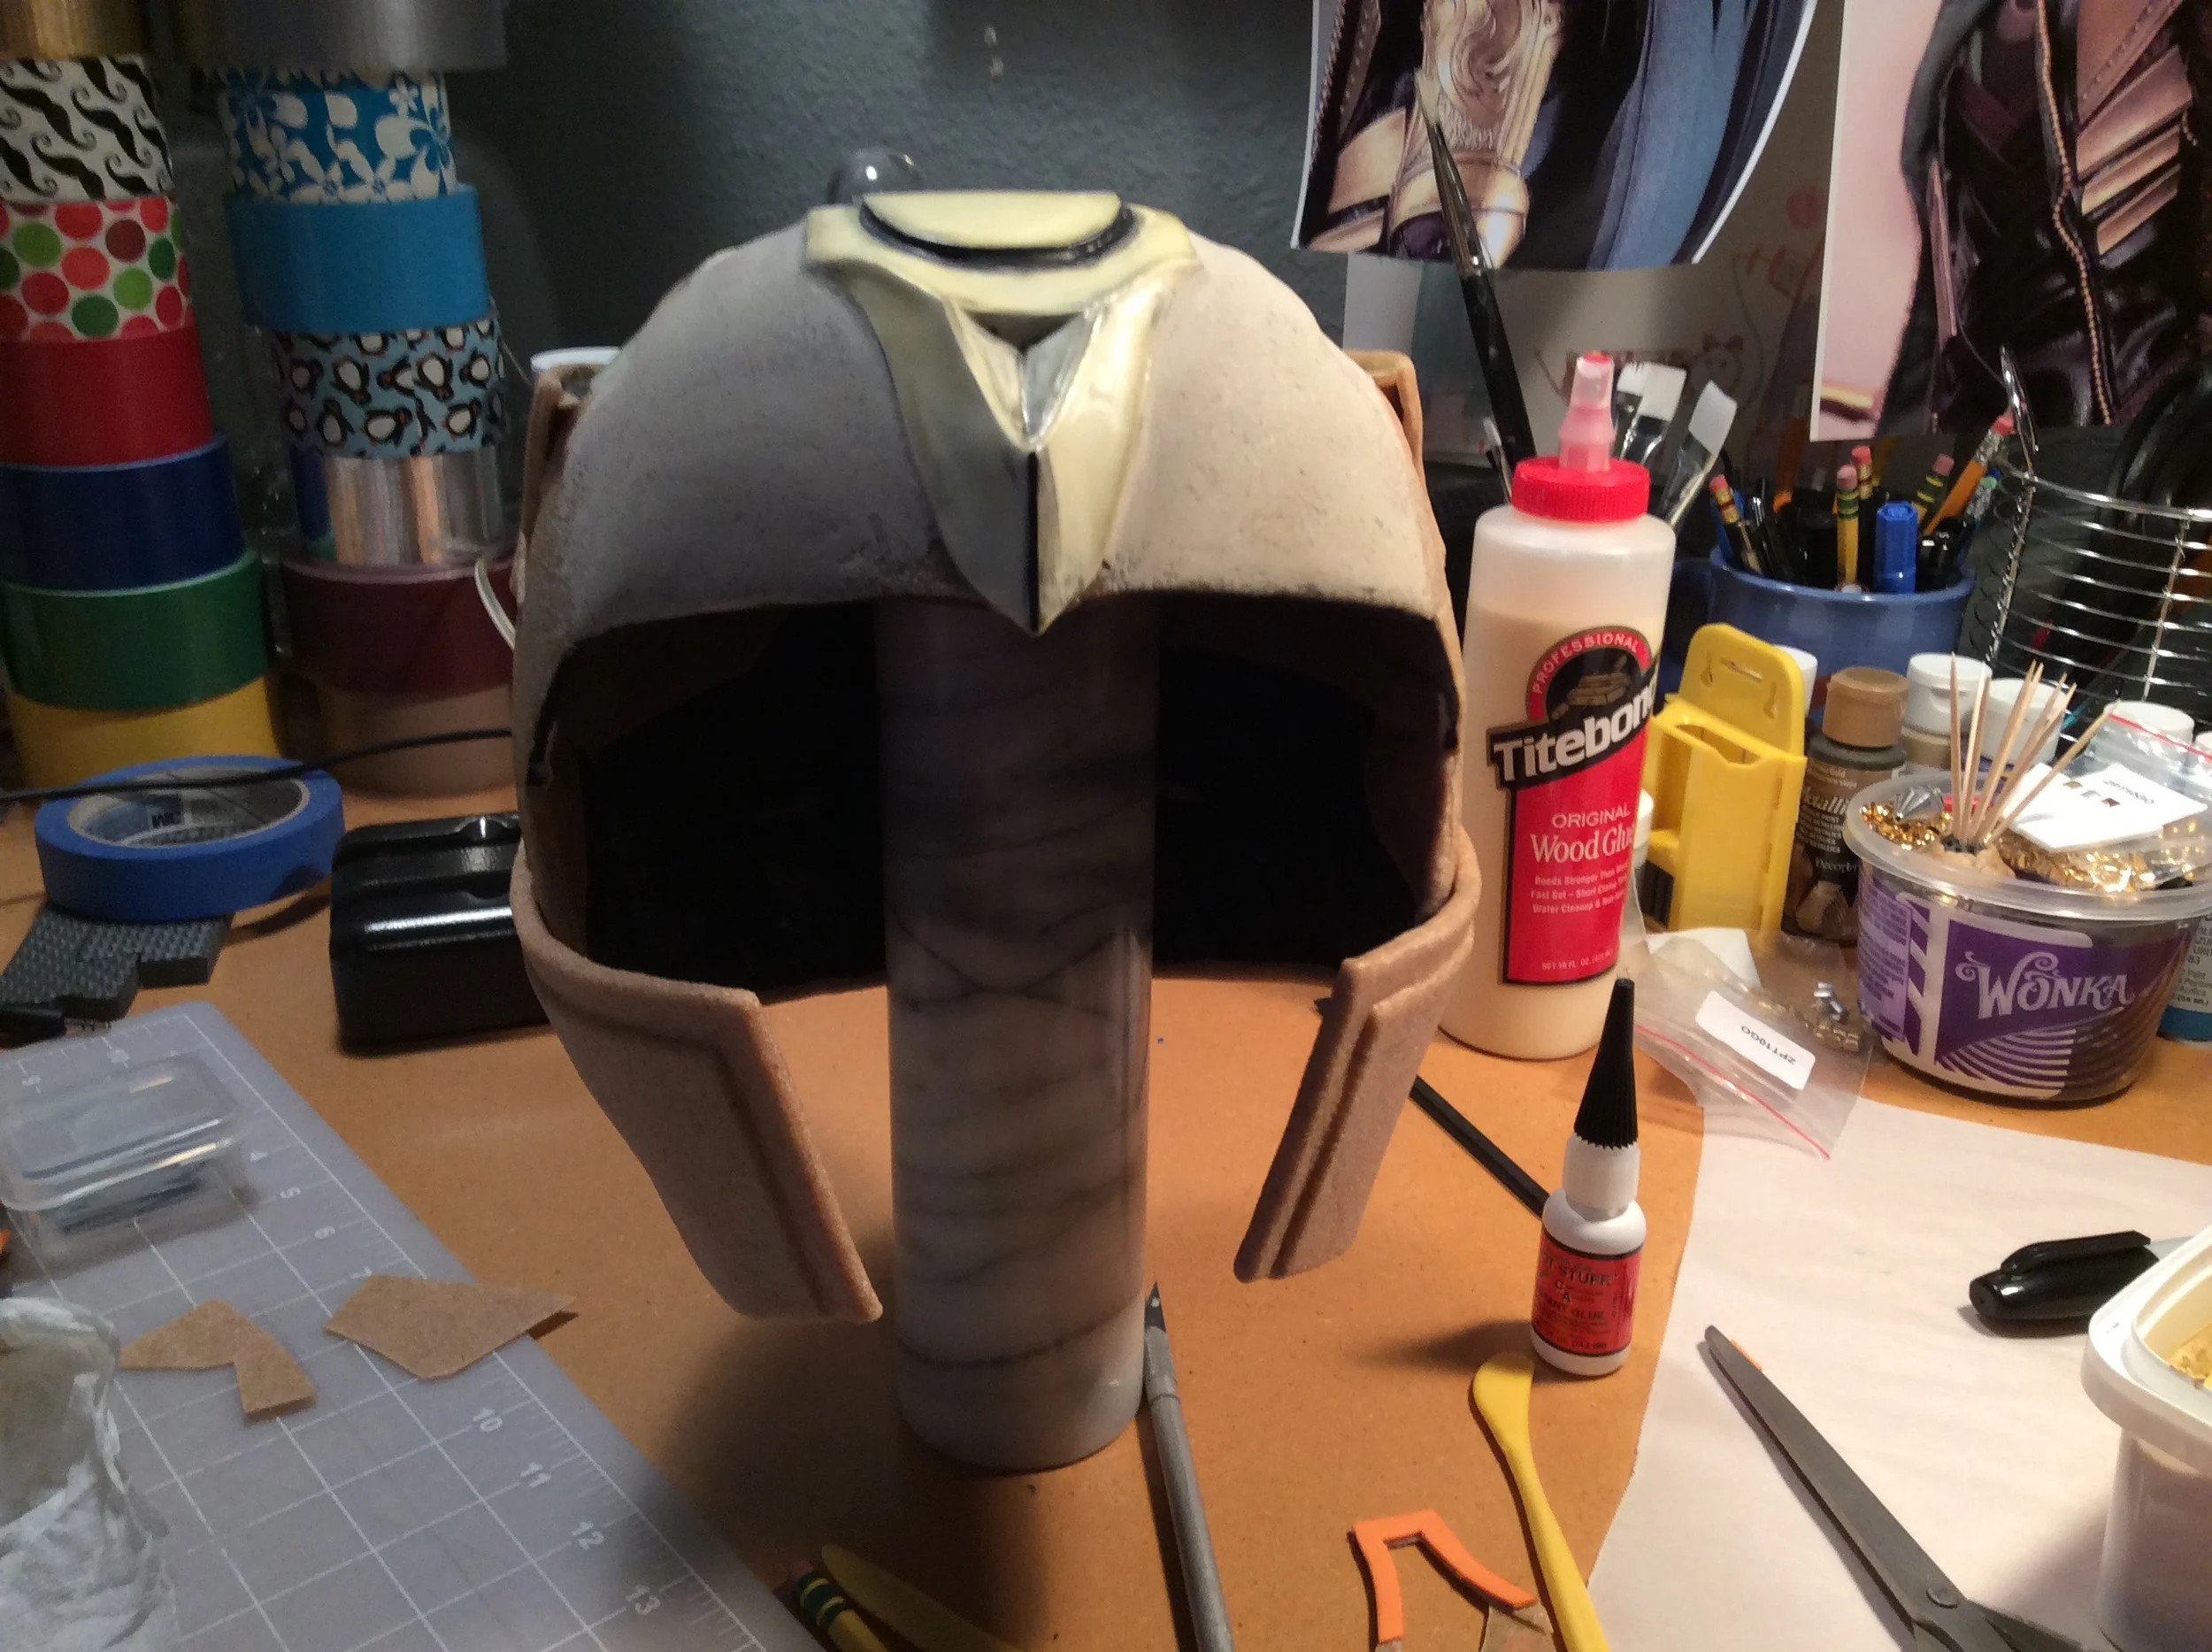
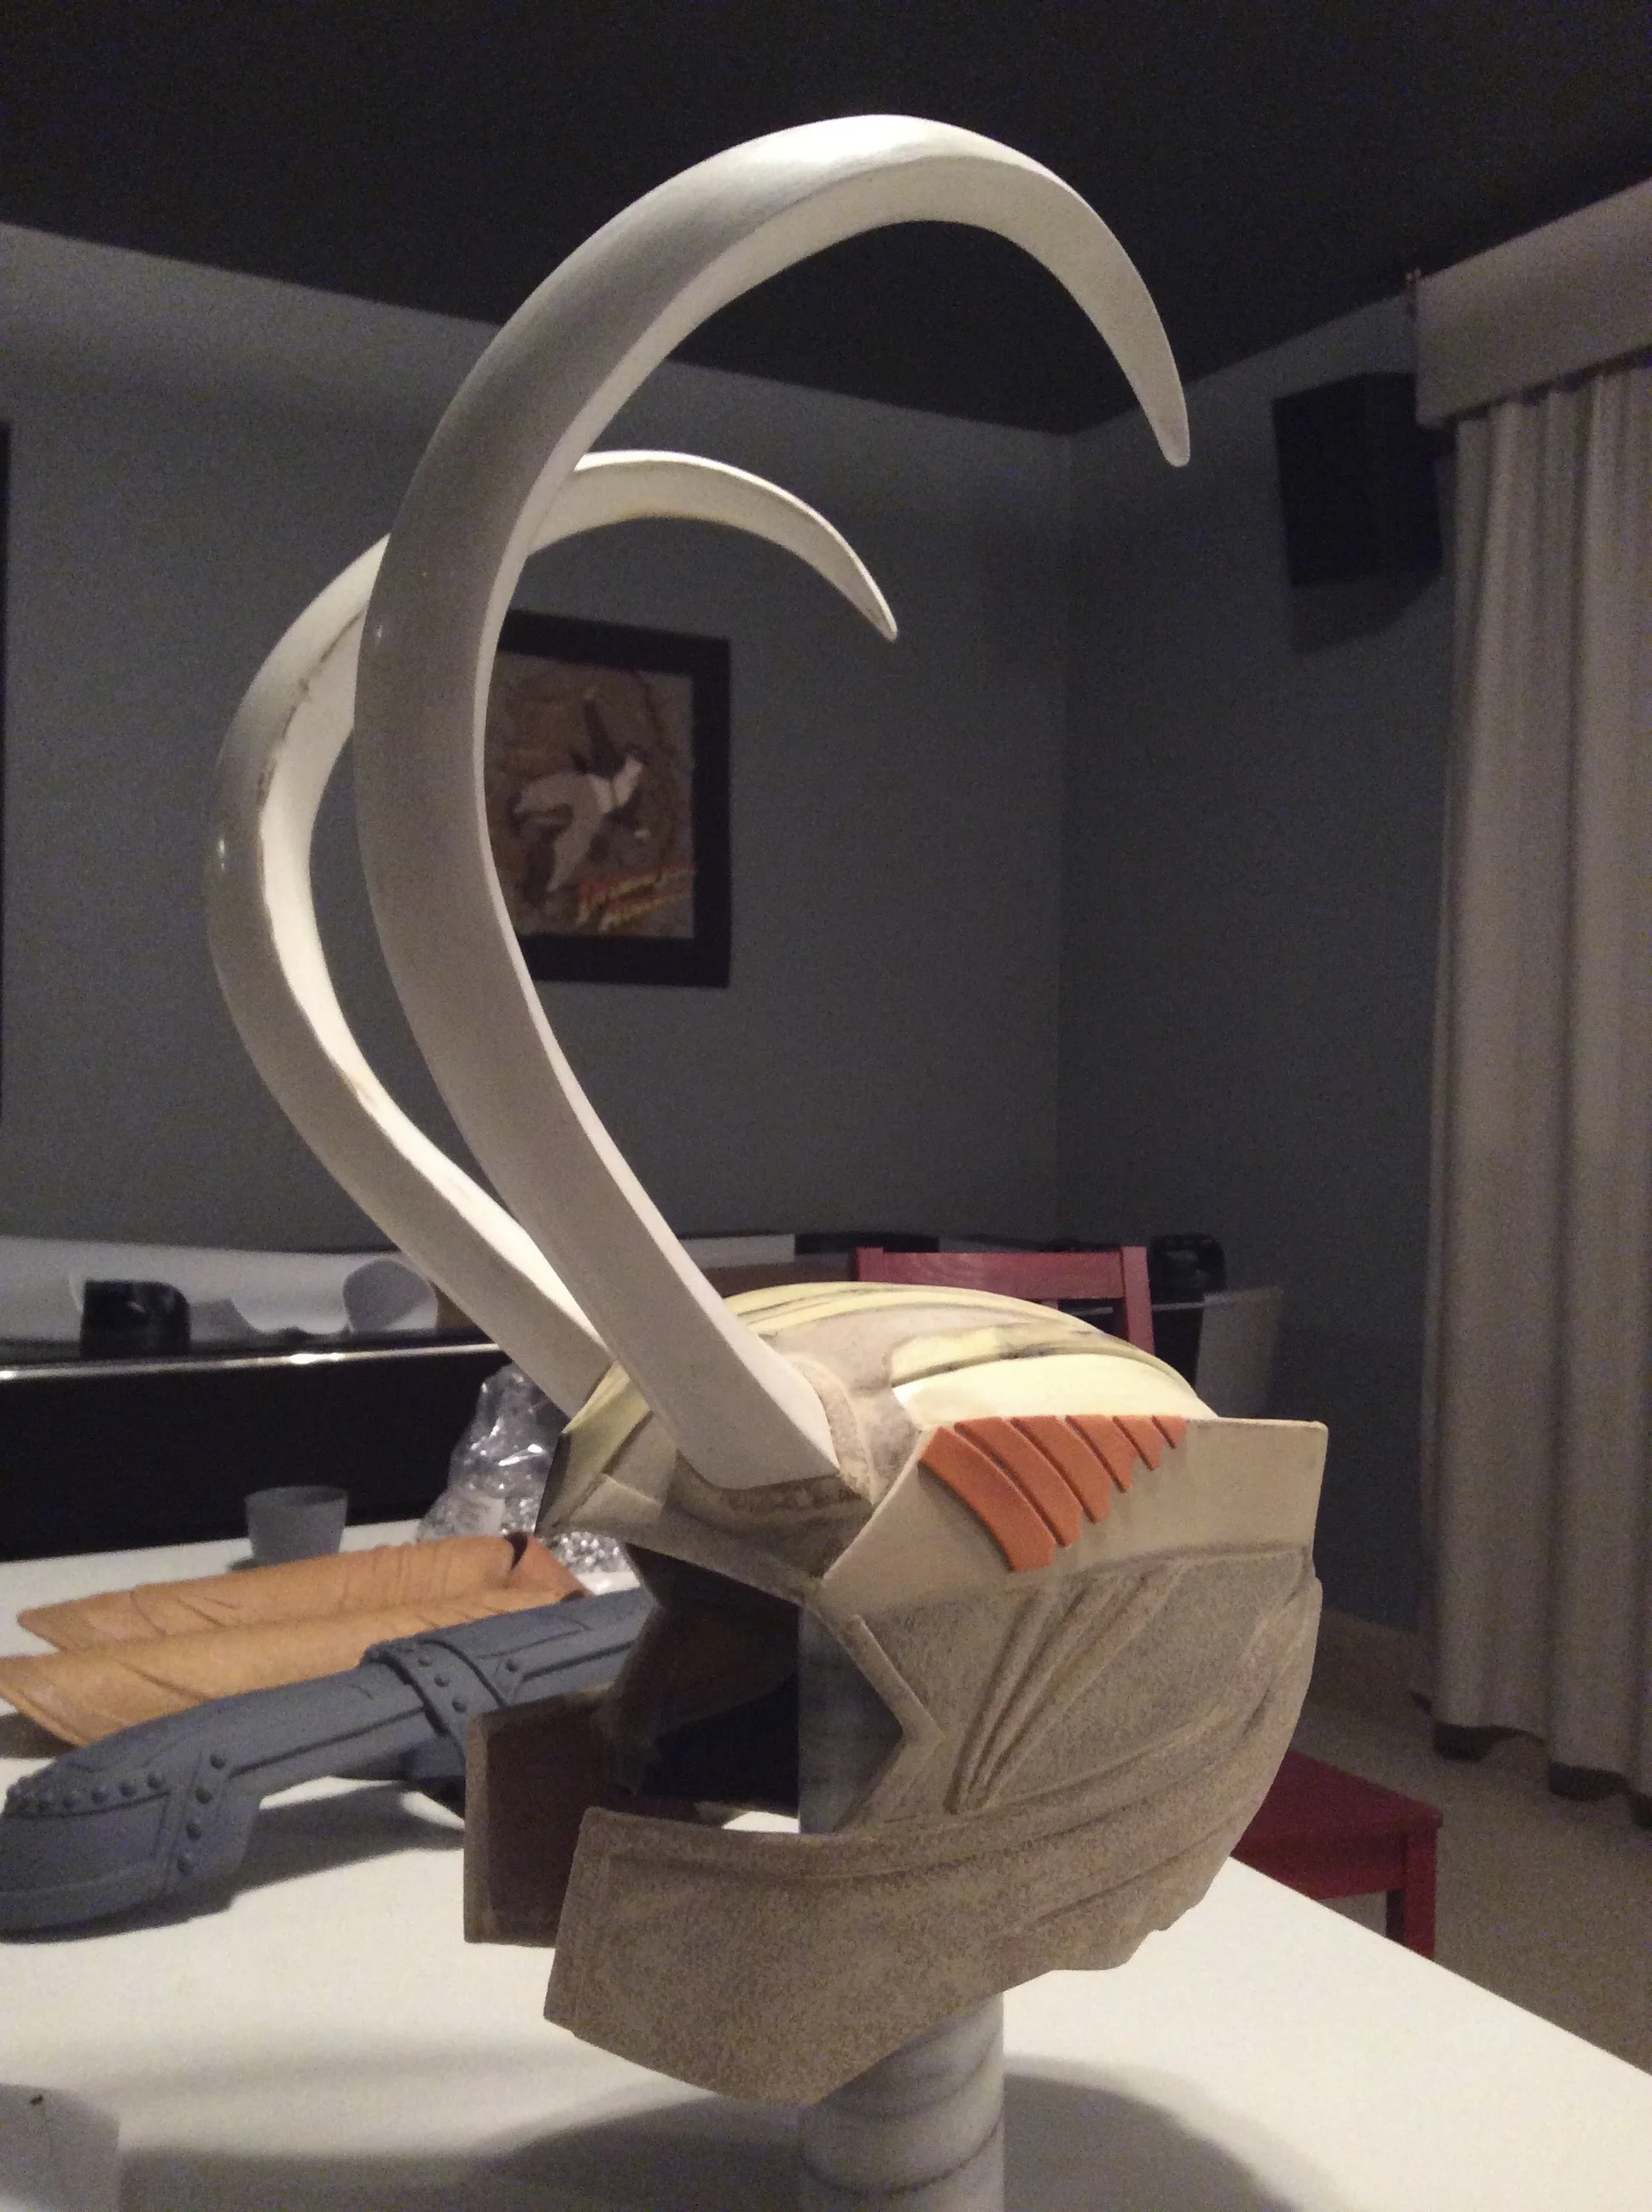
I shaped the top portion of the staff (which has three flares that the main blade connect into) out of pink insulation foam. Those were extremely tricky and time consuming as they were not only curved and rounded they also taper in width/thickness. Once I adhered them to the staff I covered them in Bondo and sanded them down. I ultimately was not happy with the Bondo so I skim coated them with Wood filler and got a better prepped surface.

The lower blade has two uniquely shaped little "brackets" that hold it in place. To create those I first wired the blade in place then sculpted Worbla around the wire to get the desired shape. (No in Worbla progress pics for this step. There are a couple of shots of the wiring in place in the gallery below.)

The orb is made from a clear plastic egg I found here. To make it more orb like I hit it with some 80 grit sand paper and my hand held grinder until I got the look I wanted. I wired it with three 10mm blue LED's and utilized the battery holder from an old LED glow-stick. The coil that the orb is connected to was made from Worbla which I rolled out into a long snake then wrapped around pvc pipe. Originally I made the mistake of not coloring the orb blue also. Indoors the blue LED's looked pretty good so I wasn't concerned. We ended up doing a lot of outdoor photos at ECCC 2014 and the orb was totally washed out in the sun light. I have since painted it with watered down acrylic and it looks great on or off.

Orb assembly. Made from a "rope" of worbla wrapped around the end of an LED glow stick.

That covers all of the main parts of this build. This was actually a fun build other than the time constraints and I am pretty happy with the finished product.

Work In Progress (WIP) Gallery:

Working With Worbla: King Loki Build - Helmet Progression

In preparation for the King Loki cosplay build, the helm was one of the pieces that intimidated me the most. That thing is crazy detailed and those horns! I thought about it for weeks and researched like crazy. I found some other creators on the interwebs (most notably Eldritch ArtsSithcamaro and Timbo's Creations) and who had posted their excellent work. The thing I realized quickly was I preferred the look of the helms that had been sculpted. I'm not a sculptor and wasn't ready to tackle yet another new medium for this project so I finally decided I'd do something similar to Timbo's and start with a foam base and build it up from there. Sometime later I was at Goodwill looking around for random stuff (you never know what discarded item you may find that can be tuned into something cool) and I saw one of these:

i-blacksilver.jpg

It's hard to tell because of the photo's angle but something about the shape reminded me of the Loki helm. (I forgot to take picture of the actual helmet but this is a stock photo of the exact model.) It hit me that maybe basing the Loki helm on a preexisting helmet would be a better place to start. So I bought the helmet for $6 and the rest follows.

The more I studied the batting helmet in comparison to Loki's Avengers helm I realized the dome shape of the batting helmet was much rounder than the Loki's more squared off Helm. I really try to strive for screen accuracy but quickly realized that I would have to modify the overall look of my build if I was going to stick with the batting helmet base. What I ended up with is a helm that copies the main lines of the Avengers helm and actually takes on a bit of the style of the Thor style helm. Yup, his helm is actually different between the two films. This picture isn't the best but it get the point across:

When I started modifying the batting helmet I was in a bit of a rush so I didn't take photos to being with. My progress photos start with the batting helmet already cut down and heavily modified. Besides removing the bill I also chopped out a part of the midsection, pretty much the whole part that is painted silver to compress the profile of the forehead.

This post is not meant to be an exact how-to guide. What you'll find is a whole bunch of progressive photos of the build and painting prep process. I'm not done with the final painting. The photos stop at the first base paint layer. I'll add the painting photos when I'm done and satisfied. Thanks for reading this far. If you have questions please feel free to ask in the comments section.

Work In Progress (WIP) Gallery:

If you liked this post you can see my work in progress on Instagram: coregeek which I update regularly as I build. I write these longer build posts after the project is finished. I'd appreciate you "liking" my page while you are there.

Going to Be a Busy Few Months, ECCC Season is Upon Us... Time to Build Some Costumes

 
Evil's Unite!
 

One of the things I've done with my daughters (both teens) on a yearly basis is attend Emerald City Comicon. This year will be our 4th year. The last few years we've gotten into doing cosplay. Cosplay is a lot of fun, my girls really enjoy it and we work diligently on recreating accurate costumes. It's truly a whole family effort. I'm the accessory and prop guy, my extremely talented mother-in-law handles all the sewing (I can sew but her skills are way beyond mine) and the girls work on the details: design, hair make-up, etc. For those who haven't seen our past efforts here you go:

 
Johnny Depp Mad Hatter and My Little Pony Discord - 2013 ECCC
 

Every year the costumes get more involved and this year I really have my work cut out for me. Seriously, my oldest K has decided to be Loki from 'The Avengers'. Of course she didn't choose the simple version, she wants the King Loki version. This is one intricate costume

 
Loki-the-avengers-wallpaper
 

Body armor, helmet, cape, scepter, that's a lot of building. It's definitely going to push my creating skills and I'll get to learn to use some new materials along the way.

Fortunately my youngest E has chosen a simpler character to recreate. One of our favorite movies as a family is 'The Emperor's New Groove'. It wasn't a Disney smash as it was made at the end of their traditional animation run, but it is a hilarious romp. One of the best part of the movie is its bad-guy or bad-girl in this case; Yzma. Yzma is bitingly voice by Eartha Kitt. I love films with a great antagonist. Best of all she is balanced out but a very funny side-kick name Kronk. He's a big Oaf with a soft heart and some real skills in the kitchen. E has requested that I cosplay along with her as Kronk. So this year will mark my first foray into full cosplay regalia at the con! We've decided to go in their Secret Lab attire:


So bear with me for the following few months as there are going to be a lot of cosplay posts as I document the build process, which is something I haven't done before. I've already started the building on Loki here's a sneak peek:

 
ductTapeBust